Made in Texas • Ships Uncompressed • CAL TB117-2013 Compliant

DIY Home Studio Setup: Affordable Ways to Improve Sound with Foam Panels
Setting up a home studio doesn’t have to break the bank. Whether you’re a podcaster, musician, or streamer, acoustic treatment is one of the most important investments you can make — and it doesn’t have to be expensive. In this guide, we’ll show you how to improve sound quality on a budget using acoustic foam panels. You’ll learn where to place panels, how many to use, and some smart DIY tricks to maximize their effect.
9/22/20252 min read
Step 1: Start with the Basics
Before buying any panels, understand what you’re treating:
Echo and reverb: Caused by sound bouncing off hard surfaces.
Boomy bass: Low frequencies build up in corners.
First reflections: Direct sound bouncing off side walls, ceiling, and behind speakers.
Your goal: control reflections and balance frequencies. Even a small number of foam panels can make a huge difference if placed strategically.
Step 2: Plan Your Panel Placement
Use these cost-effective placement strategies:
First reflection points on side walls — reduces harsh echoes and improves clarity.
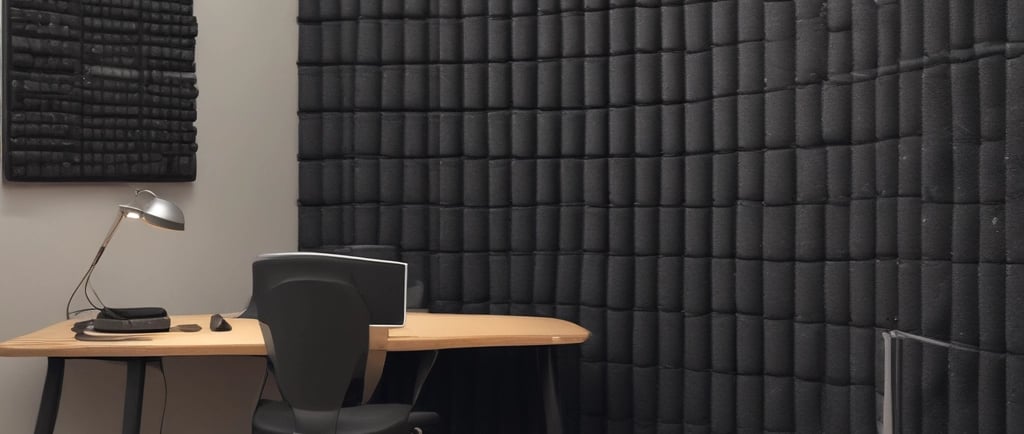
Behind speakers or recording position — absorbs direct reflections that muddy recordings.
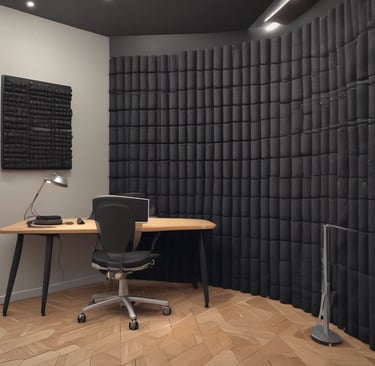
Corners — add budget-friendly bass traps in vertical corners to tame low frequencies.
Ceiling above listening/recording area — prevents flutter echoes between floor and ceiling.
💡 Tip: Use a mirror to find reflection points — wherever you see your speakers in the reflection, that’s where a panel belongs.
Step 3: Calculate How Many Panels You Need
A cheap setup doesn’t mean guessing:
Small rooms: 6–8 panels
Medium rooms: 10–16 panels
Larger spaces: 16–20 panels plus bass traps
Quick formula:
Measure your wall surface area.
Multiply by 0.25 (25%).
Divide by the square footage of one panel.
This gives you a budget-friendly starting point.
Step 4: DIY Tricks to Save Money
Use adhesive strips instead of screws — easier and avoids wall damage.
Mix panel sizes — smaller panels in corners, larger panels on walls.
Reposition panels — start with fewer panels, listen, then move or add more.
Pair with rugs or curtains — soft furnishings absorb sound cheaply and complement foam.
Step 5: Test and Adjust
The best home studio setups are iterative:
Record a short clip or speak at your desk.
Listen for echoes, harshness, or boomy bass.
Move panels or add a few more until the room sounds balanced.
Even a small, strategic arrangement of panels can make your room sound professional without spending a fortune.
Final Thoughts
A DIY home studio setup with acoustic foam panels doesn’t have to cost hundreds. By focusing on reflection points, corners, and strategic coverage, you can dramatically improve your room’s sound quality.
Start small, listen carefully, and expand your treatment as your budget allows.
👉 Ready to upgrade your home studio? Check out our US-made acoustic foam panels — affordable, effective, and easy to install.
Quick FAQs
Can I get professional results with cheap panels?
Yes! Strategic placement is more important than covering every wall.
Do I need bass traps in a small home studio?
Even one or two in the corners can noticeably improve low-end balance.
How do I know where to put foam panels?
Use reflection points and the mirror trick — any place you see the speakers in the reflection is a candidate.
Sound Trap Acoustics
Premium acoustic foam panels made in the USA — shipped uncompressed for consistent quality and performance.
Support
Contact US
contactus@soundtrapacoustics.com
© 2025. All rights reserved.